
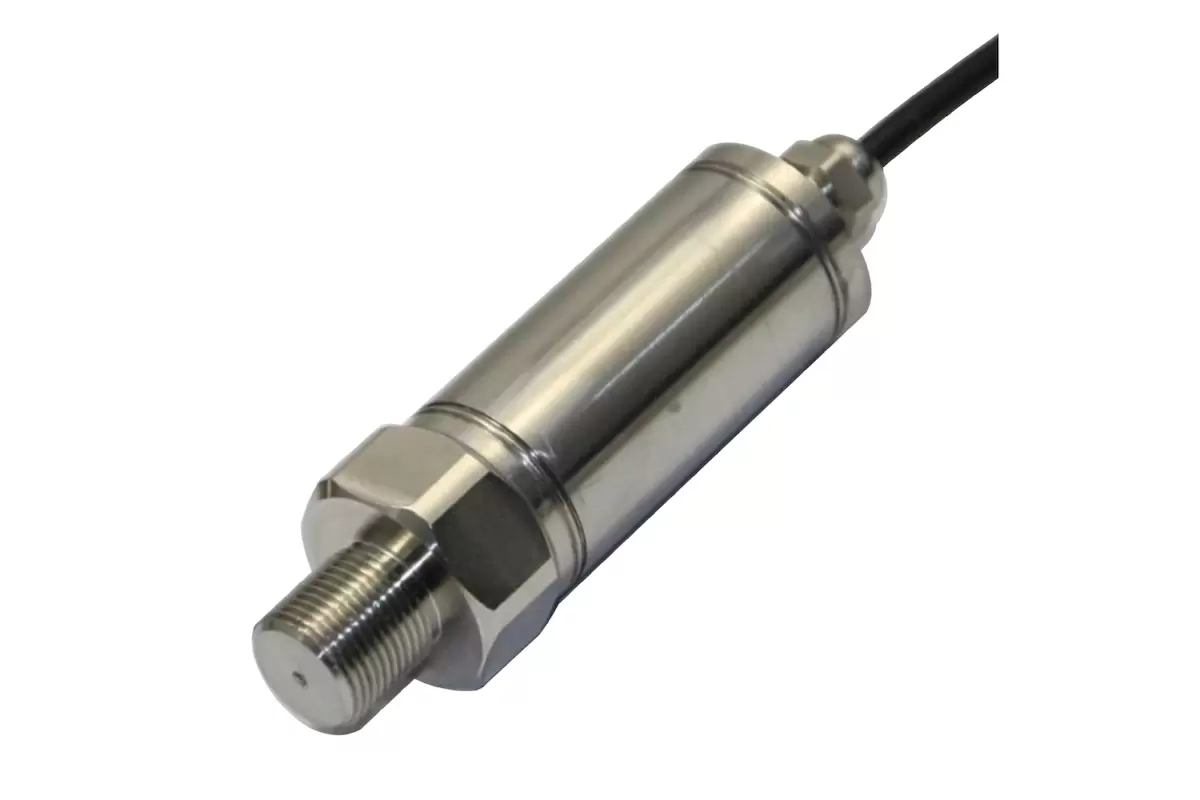
You’re about to embark on a critical task: installing and calibrating a hydrogen pressure sensor. This sensor will be your eyes and ears, providing vital data to ensure your system operates safely and efficiently. But before you start, you need to get it right. A faulty installation or miscalibration can lead to disastrous consequences. So, where do you begin? You’ll need to prepare the sensor, mount it correctly, connect it to electronics, and calibrate it with precision. Get these steps wrong, and you’ll be left with inaccurate data and a potential crisis on your hands.
Preparing the Sensor for Installation
Before you begin installing your hydrogen pressure sensor, take a few minutes to prepare it.
You’ll want to ensure it’s properly cleaned and inspected for any damage or debris. Gently wipe the sensor’s surface with a soft, dry cloth to remove any dirt or moisture.
Inspect the threads and O-ring for signs of wear or damage; if you notice any issues, consider replacing the sensor.
Next, review the sensor’s documentation to understand its specific installation requirements.
You may need to apply a thread sealant or torque the sensor to a specific value. Make sure you have all the necessary tools and materials before proceeding.
Mounting the Hydrogen Pressure Sensor
Mount the hydrogen pressure sensor in a location that’s easily accessible for maintenance and calibration, yet protected from environmental factors that could affect its performance.
You’ll want to avoid areas with high temperatures, humidity, or vibrations that could compromise the sensor’s accuracy.
When selecting a mounting location, consider the direction of the sensor’s process connection.
It should be installed in a way that allows the process connection to point downwards, ensuring that any contaminants or debris that may enter the connection won’t affect the sensor’s performance.
Use a sturdy mounting bracket or fitting that can securely hold the sensor in place.
Make sure the bracket is compatible with the sensor’s thread type and size.
Tighten the bracket screws firmly, but avoid overtightening, which can damage the sensor.
Connecting the Sensor to Electronics
Your hydrogen pressure sensor is now securely mounted, and it’s time to connect it to the electronics that will read and process its signals.
To do this, you’ll need to identify the sensor’s output terminals, which are usually labeled as positive (+) and negative (-) or signal (S) and ground (G). Next, locate the corresponding terminals on your electronics, such as a microcontroller or data acquisition system.
Make sure you understand the signal conditioning requirements, as some sensors may require amplification or filtering before the signal is sent to the electronics.
Using appropriate connectors and cables, connect the sensor’s output terminals to the electronics’ input terminals. Ensure the connections are secure and won’t come loose over time.
If your electronics require a specific wiring configuration, consult the user manual or datasheet for guidance. Double-check your connections to avoid any mistakes that could damage the sensor or electronics.
With the sensor properly connected, you’re one step closer to collecting accurate hydrogen pressure readings.
Calibrating the Hydrogen Pressure Sensor
With the hydrogen pressure sensor properly connected to your electronics, it’s essential to calibrate it to ensure accurate readings.
Calibration involves setting the sensor’s output to match the actual pressure readings. You’ll need a calibrated pressure source, such as a deadweight tester or a pressure calibrator, to generate a known pressure.
Start by applying the lowest 極低温用圧力センサー point to the sensor, usually 0 bar or 0 psi. Record the sensor’s output voltage or current reading.
Then, incrementally increase the pressure to the maximum rated value, taking readings at each point. You should have a series of data points showing the sensor’s output versus the applied pressure.
Using this data, create a calibration curve or equation that relates the sensor’s output to the actual pressure. This will allow you to convert the sensor’s output into accurate pressure readings.
Be sure to follow the manufacturer’s guidelines for calibration, as the specific process may vary depending on the sensor model and type.
Verifying Sensor Accuracy and Performance
Calibration is just the first step in ensuring the hydrogen pressure sensor provides reliable data.
You must verify its accuracy and performance to guarantee the sensor is functioning correctly. To do this, you’ll need to conduct a series of tests to validate the sensor’s readings.
Start by comparing the sensor’s readings with those from a trusted reference device, such as a precision pressure gauge. This will help you identify any discrepancies or deviations from the expected values.
You should also check the sensor’s response time, ensuring it can accurately track changes in pressure.
Additionally, perform tests at various pressure points to verify the sensor’s linearity and repeatability.
This involves applying known pressures to the sensor and recording its responses.
Conclusion
You’ve successfully installed and calibrated your hydrogen pressure sensor. Now, you’re ready to take accurate readings and make informed decisions. Remember to periodically re-calibrate your sensor to ensure continued accuracy and reliability. With proper installation and calibration, your sensor will provide valuable insights into your hydrogen system’s performance, helping you optimize operations and maintain safety.